|
1. Copy the Community_Costume_X package that you created, from:
C:\UDK\UDK-2015-01\UDKGame\Content\TU\CommunityCostume
Note: Only copy the package you made! Do not copy the TU_ExampleCharacter or TU_MasterShaders!
2. Paste it in:
Steam\steamapps\common\Them & Us\UDKGame\CookedPC\TU\CommunityCostume
3. Download the UDKCommunityCostumeSettings.ini file from here
4. Place this file in your Steam\steamapps\common\Them & Us\UDKGame\Config
a. Open this .ini file with any text editor such as Notepad.
b. Add this line in and edit (your package ID) and Your Costume Name:
CommunityCostumeInfo=(PackageName=”CommunityCostume_(your package ID)”,CharacterName=”Your Costume Name Here”)
5. Start the game and go to any of the available wardrobes, find your costume name.
Note: If your costume doesn’t appear in the list it means you did not named the package correctly or the mesh. Another problem is that you may have entered a number bigger than 1000 (example: CommunityCostume_1001.
The maximum number is 1000.
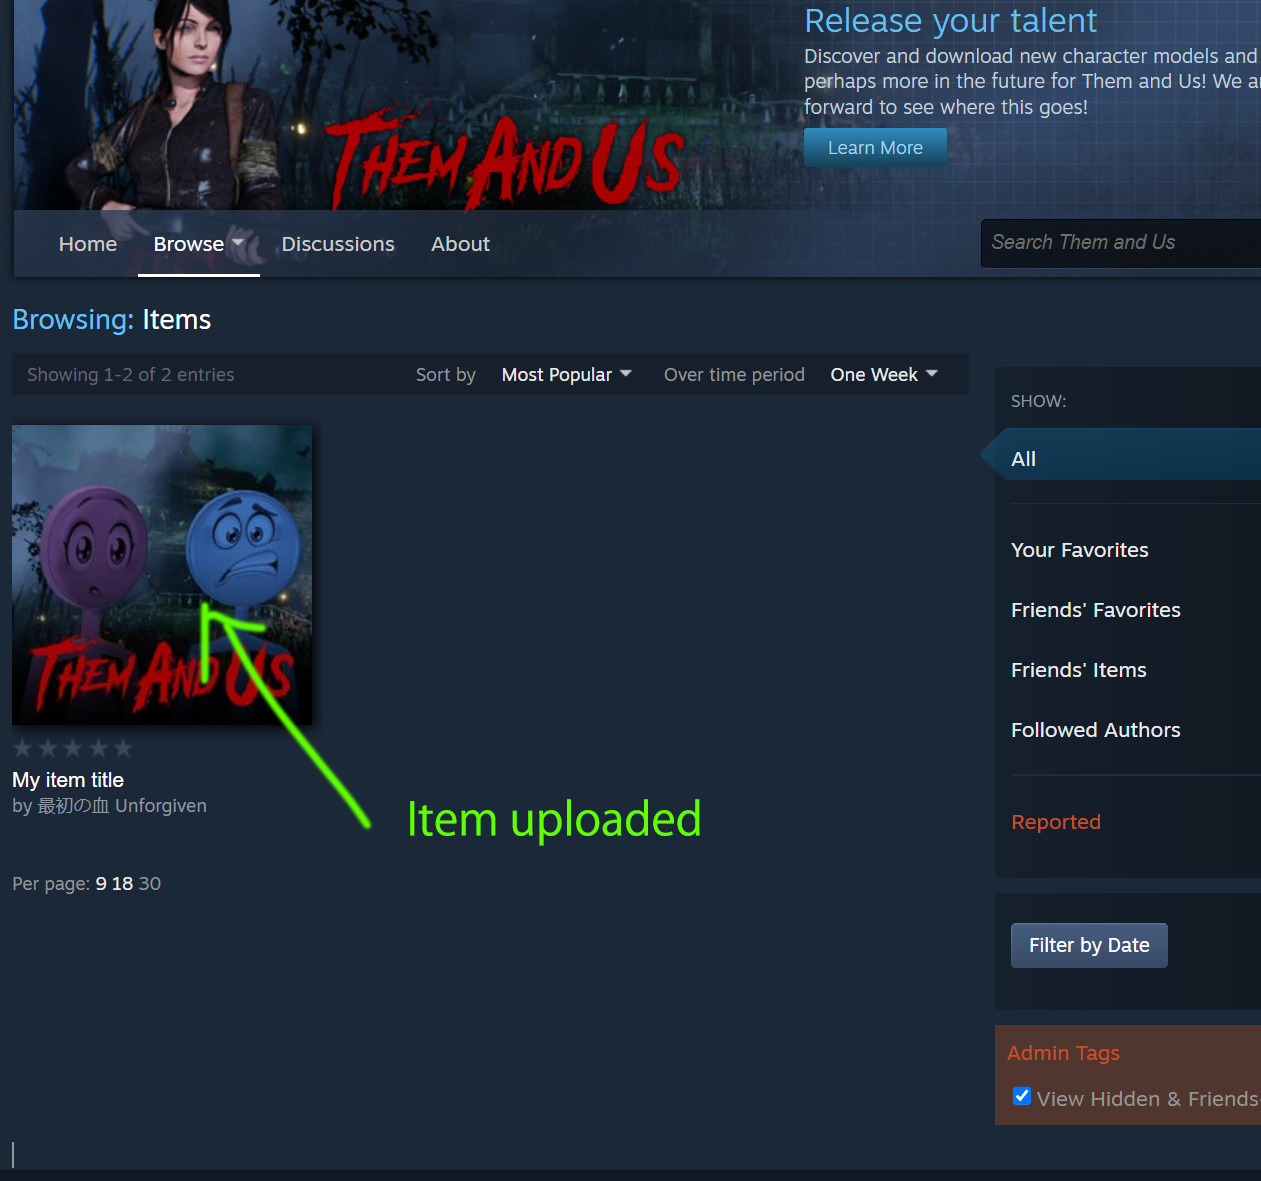
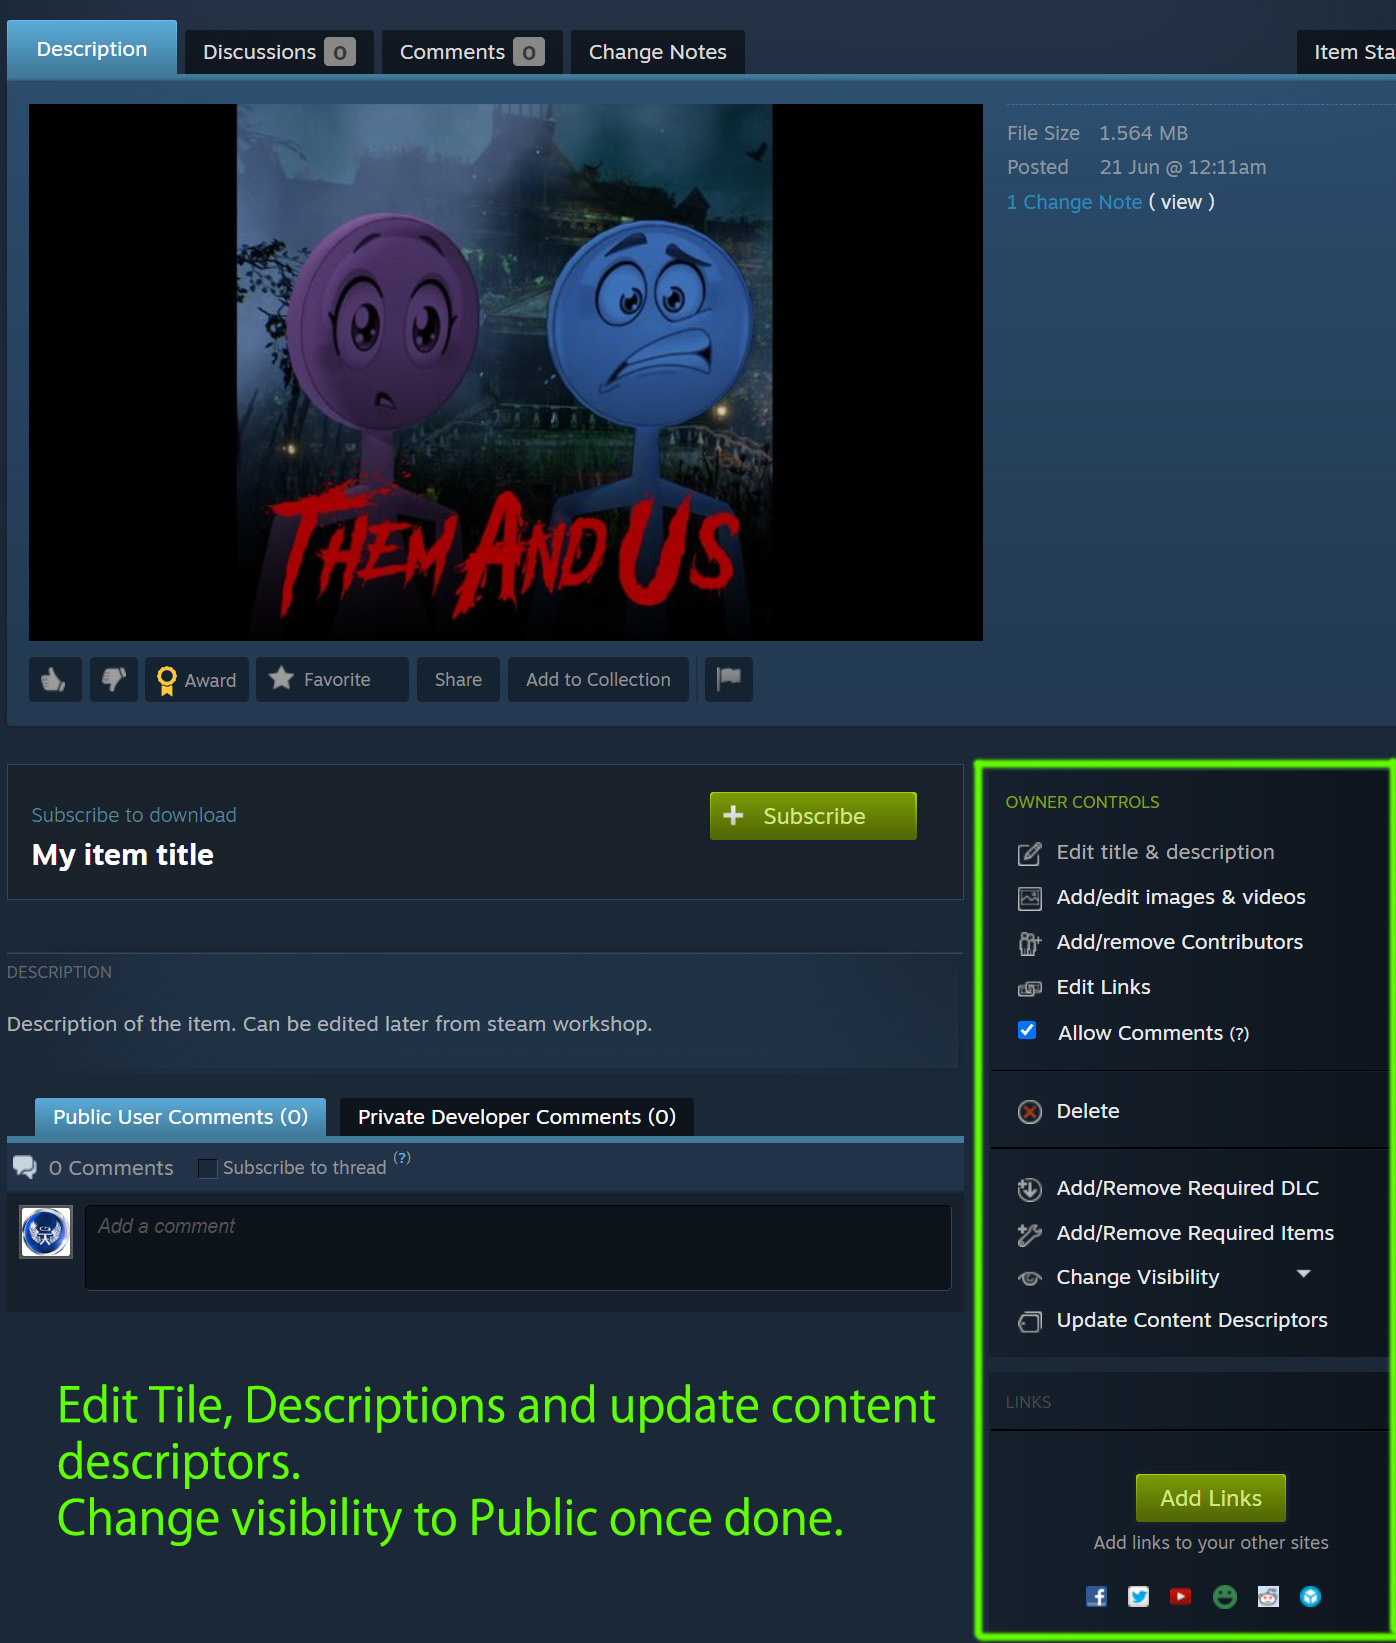
If everything is OK, time to upload your character to the STEAM Workshop for people to view it and vote it.
1. Create a folder on your PC and place this CommunityCostume_X inside it. Please include also the ini file or mention in your description about it.
Only copy the package you made! Do not copy the TU_ExampleCharacter or TU_MasterShaders!
2. For the next step we are going to use a ThirdParty tool called SteamWUT. You can find this tool here as well some documentation on how to use it.
Open this tool by double clicking the SteamWUT.exe.
Warning: Your Windows may request access to open this tool. You will have to accept. In case you are worried you can check some of other people what they say about SteamWUT before continue.
Once open the tool you will see the following window.
|